
Kitchen drawers play an important role in maintaining your kitchen in an orderly and well-organized way. They provide ease of access and hidden spaces for your cutlery and utensils in a systematic manner while staying away from sights. As kitchen drawers are an essential part of kitchen maintenance, likewise learning how to remove and install kitchen drawers is a useful and rewarding skill, because sometimes they also need maintenance, whether you fix your existing drawer or remove and install new ones. In this guide, you’ll learn the process of both removing and installing kitchen drawers, in the end, you’ll have a smooth-running kitchen with drawers that function effortlessly.
Understanding Kitchen Drawer Systems
Types of Kitchen Drawers:
Before starting the removal and installation process, it’s necessary to understand the different types of kitchen drawers you may encounter. Kitchen drawers come in different styles, including:
Standard Drawers: These are the most common and are typically mounted on tracks or slides, providing easy reach to stored items.
Sliding Drawers: Sliding drawers work on a track system, often resulting in a smoother operation. They can be a bit more challenging to remove, but once you know the method, it’s quite easy.
Pull-Out Drawers: A more specialized system that allows drawers to be pulled out in sections, providing better reach to deeper cabinets. These can be installed to replace traditional drawers or added to existing cabinetry for increased functionality.
Understanding the types of kitchen drawers, which drawer you’re dealing with will help you to follow the right procedure for installation or removal.
Tools You Will Need:
These tools will ensure a smooth and efficient process as you remove or install your kitchen drawers. Here’s the list of some tools you’ll need.
1. Screwdriver (Phillips or flathead, depending on the screws)
2. Drill (for pre-drilling holes or removing screws)
3. Measuring Tape (to ensure the drawer fits perfectly in the cabinet)
4. Drawer Slides (if replacing or installing new slides)
5. Level (to make sure the drawer is properly aligned)
How to Remove Kitchen Drawers
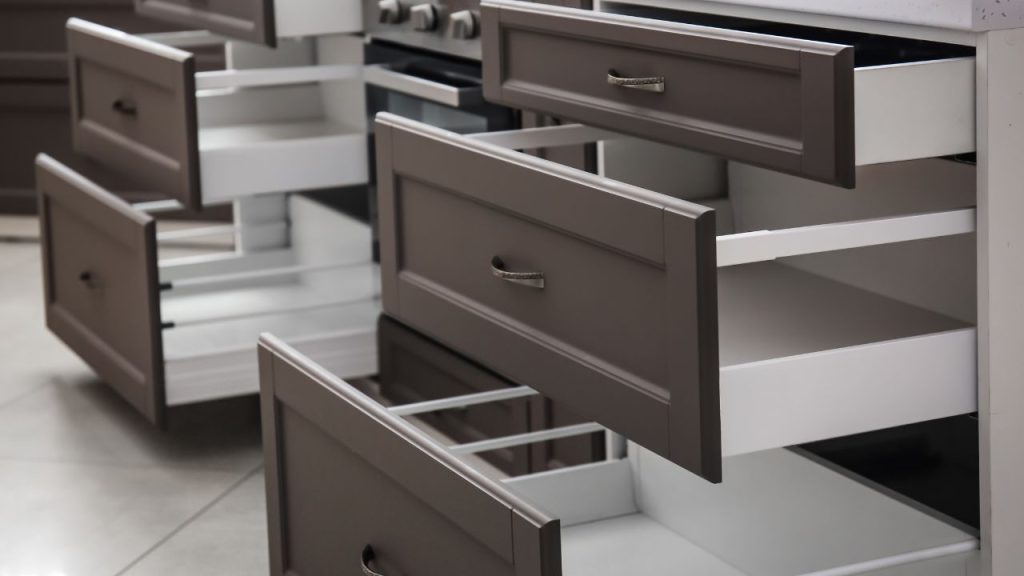
Step 1: Inspect the Drawer Mechanism:
Inspect the drawer slides or back at the drawers properly to check the screws, clips or some have locking mechanism that holds the drawer in place.
Step 2: Release the Drawer From ItsTrack:
Once you’ve found the screws or locking mechanism, you’ll need to carefully release the drawer from its track. Then untwist the clips or screws from the drawer that secure the track.
Step 3: Detach the Drawer Front (if necessary)
In some cases, you may need to remove the front of the drawer before fully removing it from the tracks. This is common if you’re replacing the front panel or making repairs to the drawer. Typically, you’ll just need to remove the screws attaching the front of the drawer to the rest of the structure.
How to Install Kitchen Drawers
Step 1: Prepare the New Drawer (or Existing Drawer for Reinstallation)
Before you install your new or refurbished drawer, make sure it fits properly into the drawer space. Measure both the drawer and the space to confirm proper alignment. If you’re installing a new drawer, pre-drill the holes for any necessary hardware and screws.
Step 2: Install Drawer Slides
Then, install the drawer slides (or rails). There are many types of drawer slides such as side-mount, center-mount or under-mount. Follow the given instructions to achieve better results.
- Firstly, measure the slides length & capacity of your drawer.
- Then mark the corresponding line where the slides will attach.
- Align the slides on the marked line. Use level to ensure alignment, as any misalignment will cause the drawer to slide unevenly.
- Use screws, clips or locking mechanisms to lock the slides position.
- Now, test slides before inserting the drawer to ensure smooth sliding.
Step 3: Insert the Drawer into the Tracks
Once the slides are fitted, place the drawer on the tracks and gently slide to make sure it glides smoothly without any resistance. Screw the drawers if given or needed, but before tightening the screws check the frame of the drawer to avoid any misalignment or uneven gliding.
Step 4: Install Drawer Handles
If your drawer is fixed in place, then install handles or knobs. This step is very easy, just marking the desired handle position on the drawer front, drilling holes, and then attaching the handles on the mark.
FAQs About Installing or Removing Kitchen Drawer
Why my kitchen drawers won’t slide properly?
The most common issues are:
- Misaligned Tracks: If the tracks are not properly aligned, the drawer will not work gently.
- Broken Slides: If a slide is broken, it works unsmoothly you’ll need to replace it.
- Overstuffed Drawer: Sometimes, just removing heavy weight or adjusting the contents of the drawer can solve the issue.
How to Adjust Kitchen Cabinet Drawers
First confirm they are level and aligned appropriately. Most drawer slides come with adjustment screws that allow you to tweak the position of the drawer for smooth gliding.
How do I fix a sticking kitchen drawer?
A sticking drawer is often caused by misaligned tracks or debris. Check the tracks for obstructions and clean them. If the tracks are misaligned, adjust them to ensure smooth movement.
Can I install pull-out drawers by myself?
Yes, you can easily install pull-out drawers with the right tools and steps. Be sure to measure carefully and follow the manufacturer’s guide to ensure proper installation.
How do I adjust the height of my Kitchen drawers?
Most kitchen drawers are adjusted just by the screws on the side or back of the drawer slides. Adjusting these screws will allow you to raise or lower the drawer to the desired height.
Check out our other kitchen improvement guides if you need to transform your kitchen into well-maintained and improved today! Comment down without any hesitation, if you find any mistake or misguide in this guide then we’ll make sure to correct that.