
Installing kitchen cabinets by removing old ones or into your ongoing renovated house on your own is not a complicated task as it seems, instead it saves your money. Whether you’re familiar in the past with some DIY projects installation like installing kitchen faucet, replacing bathroom sink drain etc. on your own or a beginner DIYer, this project is as simple as it sounds for you, if you work with proper tools and techniques. But still this project requires another person’s help to lift up the position of upper cabinets and for some other work. Now let’s start our work with this interesting guide on how to install kitchen cabinets, before it’s too late.
Preparation For Installation:
Before installation begins for installing kitchen cabinets, it’s time to check all tools, prepare your space for a smooth and hassle free procedure.
Needed Tools And Materials:
- 5 to 6 feet level
- Measuring tape
- Drill and Screwdrivers
- Cabinets screws
- Stud finder
- Chalk or Pencil
- Large scale (to mark positions or use measuring tape)
- Impact driver
- Shims
- 4-foot level
- Saw
- Utility knife
Prepare The Space:
- Use a 4-foot level to find that your walls and their corners are aligned straight and square.
- Mark any angles, dips that need to be fitting, shimming or alterations.
- Note high or low points on floors as this is crucial for leveling your base cabinets.
- Install any electrical and plumbing lines for appliances, dishwasher, and vent hood before starting any installation.
- Make sure the cap is not glued with the kitchen sink drain.
- Installing or marking complete lines for the drainage system if that’s not installed in its place.
Mark The Complete Reference Layout For Cabinets:
- To start the process first make a complete reference layout of your cabinets by measuring them and mark those measuring on the walls with a pencil.
- Now use a level to mark the straight lines for cabinets by chalk line, this ensures that your cabinets will install completely align straightly.
- Mark that place where measurement is shortest, meaning the high point of the floor.
- Mark the height of your base cabinet directly from the high point of the floor, 34 inches above from the floor.
- Now from that mark extend your level above to measure and mark upper cabinets layout.
- By using measuring tape measuring 17 to 18 inches above from the base cabinets, mark the bottom line for your upper kitchen cabinets.
- Then find the stud location using the stud finder and mark the place for both layout lines, and drill a small hole after marking a confirmed location of the stud.
- Mark each place for appliances.
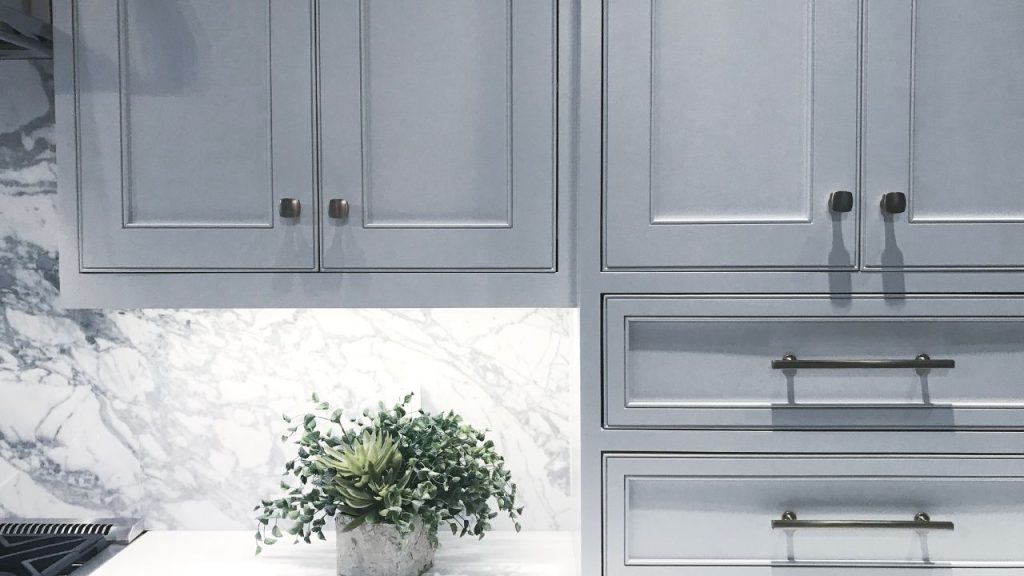
Install The Upper Corner Cabinets First:
- Removing drawers, handles, doors, and knobs to make them lighter weight and easy to hang them on their position.
- You already made a proper layout for your cabinets, now set a straight cleat just beneath the layout of upper cabinets.
- Now tell another person to hold the cabinet in its place properly, drive screw through cleat and into the marking stud.
- Attach more cleats along with the length of the line.
- Use level to make sure that your cabinet is straight aligned.
- Now take another cabinet, and align its face frame with the upper hanging cabinet, check their flush for a straightedge, then clamp them together with a two inch screw.
- Drill counter-bored pilot holes through the edge of the frame, top and bottom. Again drive two inch screws in those holes, which ensures that cabinets will hold tightly together.
Hang The Upper Remaining Cabinets:
- Now assemble the upper cabinets and rest them on the cleat with the help of another person.
- Use a level against front cabinets to check it is plumb, if plumb then drive 2 1⁄2-inch deck screw through studs and cabinets from both top to bottom.
- If not look plumb then slip shims between the wall at the stud location and the back of the cabinets (to shim out the bottom)
- When the cabinets are plumb correctly, secure them by driving screw through shims to the studs.
- Position the remaining cabinets on to the cleat, even their front flush with already installed cabinets. Use clamps and screws to hold the cabinets tightly with each other.
- If needed, add shims to make sure cabinets are leveled perfectly, then secure them with 2 1⁄2-inch deck screws to the studs through the shims.
- To fill any gap between the wall and cabinets use trims to cover the gap.
Install The Corner Base Cabinets:
- Place the corner base cabinets into its position, shim it up until the cabinet’s back edge comes to the marked outline.
- If any plumbing pipeline is present, then mark the exact location of them on the back panel of the cabinet.
- Drill the holes according to the required size of plumbing pipelines.
- Move the drilled cabinet back into its position and check to fit the plumbing lines into holes and if needed adjust the holes as necessary.
- Use level to make sure the front cabinets are aligned, if it’s not aligned insert shims between the wall and back of the cabinet, or the floor and the bottom of cabinet, at the stud locations.
- Also check the top cabinets if they are evenly placed, and use shims if needed.
- Drive 2 1⁄2-inch deck screws through the studs with the cabinets back after confirming that they’re level.
- Again at the shims location put the 2 1⁄2-inch deck screws against the floor to fasten the cabinets.
Place the Remaining Cabinets:
- Place the remaining cabinets with the installed corner cabinets.
- Adjust their location by shims at the stud location from both up to bottom so that the face frame of cabinets are plumb.
- Make sure the top of cabinets are level evenly and also with the layout line.
- Clamp the cabinets together and fasten them with 2 inch screws by the same procedure as explained above.
- Use a utility knife to cut any protrude shims that come outside from the edges of cabinets.
- Detach all the upper support cleats and fill any holes with spackle.
- After installing all cabinets, put all the drawers and shelves into their original places.
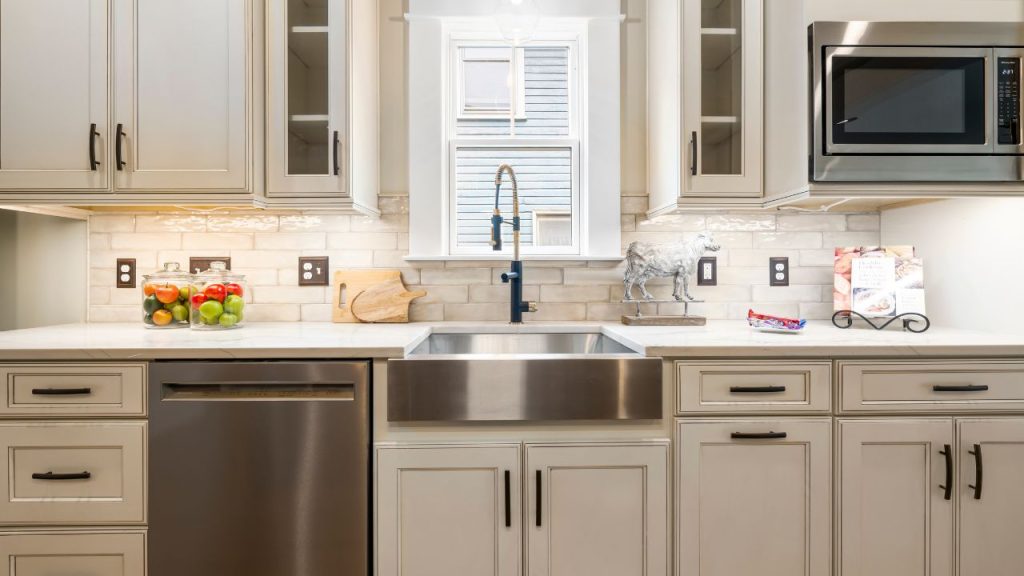
Installing Cabinet Doors:
If you have overlay doors that sit over the cabinet frame, make sure to adjust the hinges so the doors hang properly. For insert doors, tweak the hinges so they sit flush with the frame and have an even space all around.
- Take 1-inch brads to attach the toe kick with the base cabinets.
- Start installing longest pieces on large doors then use shorter on short doors.
- Close any gap between the floor and trims either by shaping the trim or cover them by nailing a shoe molding to the floors.
- Use a nail set to push in the nail heads, and fill them with wood putty or a wax stick that matches color.
- If you’re adding crown molding to the upper cabinets, miter the joints at the outside corners and cope the joints at the inside corners.
- Line up the bottom edge of the molding with a level line above the doors.
- Secure the molding by 1-2 inch finish nails and don’t forget to glue the ends where the pieces meet.
Final Thoughts:
Hope this guide will help you to transform your empty kitchen into your required transformation by installing kitchen cabinets. By following above steps, proper techniques and tools any beginner or senior DIYer smoothly install their cabinets. Are you also searching for kitchen renovation, bathroom renovation or house remodeling contractors, contact Prep-N-Reno for transforming your home into your dreamy palace.